Mold Remediation is the removal and cleaning of mold and mold spores, in an effort to return an affected area to normal fungal ecology. The following steps should only be attempted after the area has been properly contained and air flow is managed, to prevent cross contamination to unaffected areas of the building. The remediation process includes the removal visible mold growth from non-porous surfaces and the collection of airborne, using HEPA filtration, and settled mold spores, from horizontal surfaces.
STEP 1- Removal of growth and spores
-
- All areas of visible suspected mold growth, on non-porous materials, should be pre-vacuumed with a HEPA filtered vacuum. Non-structural porous materials, with visible mold growth, should be disposed of.
- Non-porous or hard surface materials with visible or suspected mold growth should be cleaned using a detergent cleaning solution such as dish soap and water. An abrasive action, such as a nylon scrub brush, may be necessary for heavy growth, significant staining or uneven surfaces. This process may need to be repeated until all particulate has been removed. Non-porous or hard surface materials in the vicinity of visible or suspected mold growth can be assumed to be contaminated by settled spores. These materials should be cleaned of surface particulate by HEPA vacuuming and then damp wiping with a proper cleaning solution. This process is similar to the cleaning process described above but without the need for abrasive action.
- Porous surfaces or textiles that have been contaminated by settled spores should be cleaned by HEPA vacuuming to remove loose particulate and should be laundered if possible. If visible growth is present on porous materials or textiles, the items should be disposed of.
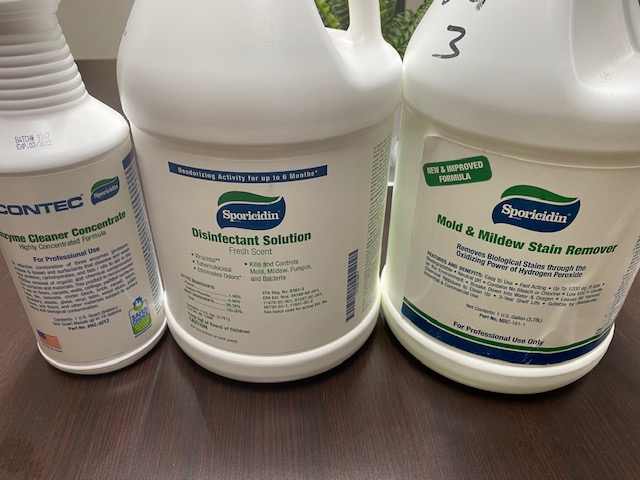
STEP 2- Application of an appropriate fungicide or anti-microbial disinfectant.
-
- Always follow label instructions, but most products can be applied directly to surfaces and allowed to dwell for the duration necessary.
- Other products can be misted or fogged using either an electrostatic sprayer or a ULV (Ultra Low Volume) fogger.
STEP 3- Stain Removal –
-
- Residual staining can be addressed using a Mold Stain Remover. Please note, many mold stain removing products are marketed as cleaners. As a general rule, they are not cleaners and can not be used in Step 1 above.
- They are intended to treat the staining and remove the discoloration, to make the exposed surface look less affected. This may be wanted if an affected surface will still be visible once the project is completed.
- If stain removal is not effective on
STEP 4 (Optional) – Prime and Paint –
-
- On surfaces in which residual staining remains, surfaces can be sealed with a mold resistant primer and painted with a paint appropriate for the surface and the environment.
- Mold resistant primer will NOT prevent future mold growth if the environmental conditions, conducive to mold growth, continue in the future. New mold growth can definitely grow on the surface of these painted areas if moisture is not properly managed.
- A well painted surface, especially glossy or oil based painted surfaces will provide a more effective barrier and allow mold growth to be cleaned from the surface before it has penetrated into the material below.